[Python]Selenium 을 이용한 이미지 크롤링 해오기(+추가 21.07.30)
오늘은 구글에서 이미지를 크롤링할 일이 생겨서, 파이썬을 통해 구현해 보았다.
간단한 검색어를 입력하면 그 검색어에 해당하는 이미지들을 모두 저장하는것으로, 특히 중요한점은 썸네일 이미지저장이 아닌 온전한 이미지! 를 저장한다는 점이다.
(+ timeout thread 추가 21.07.30)
셀리니움 구글 이미지 다운도중 정확한 원인은 모르겠지만(서버문제인가?) 무튼, 로딩된 전체 스크롤을 다운하지 못하고 중간에서 멈추는 현상이 있었다. 때문에 해당 이미지 다운 과정에 일정 시간이 지나면, Exception 을 반환하는 타임아웃 스레드를 추가로 정의해주었다. 또한 Xpath는 크롬 버전 업데이트마다 변동될 때가 있는것같다. (주기적으로 확인해주어야함.)
.
.
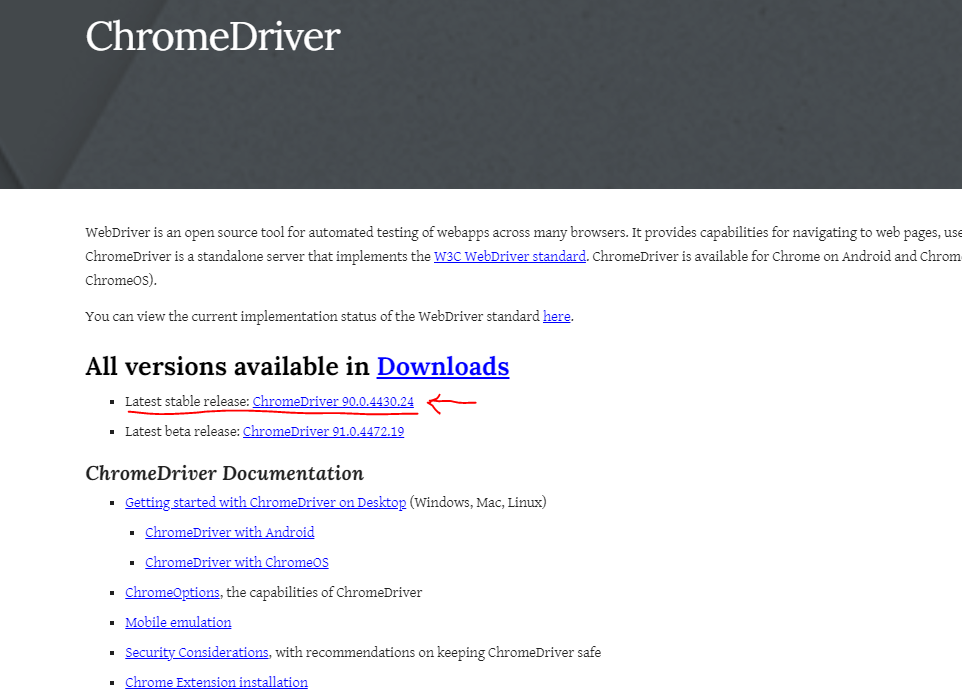
sites.google.com/chromium.org/driver/
ChromeDriver - WebDriver for Chrome
WebDriver is an open source tool for automated testing of webapps across many browsers. It provides capabilities for navigating to web pages, user input, JavaScript execution, and more. ChromeDriver is a standalone server that implements the W3C WebDriver
sites.google.com
먼저 사전준비 단계로, 필요한
크롬 드라이버를 위 경로에서 설치해준다.
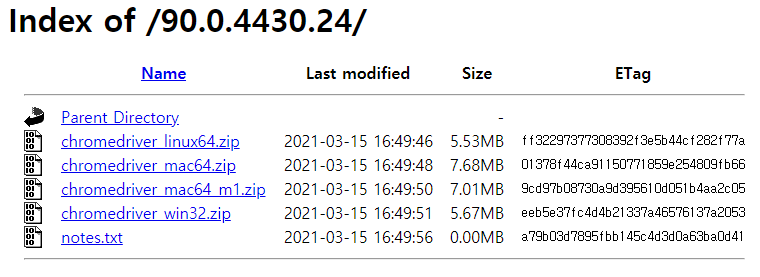
각자 환경에 맞는 알집파일을 설치 후, 안에 들어있는 .exe 파일경로를 메모해두거나, Path 경로로 지정해준다.
나는 C:/chrome/ 경로에 넣어두었다.
그 다음은 이제 이미지를 읽어올 코드를 작성하는것.... 코드는 다음 오픈소스를 참조하였다.
github.com/youtube-jocoding/python-selenium-google-image-crawling/blob/master/google.py
youtube-jocoding/python-selenium-google-image-crawling
Contribute to youtube-jocoding/python-selenium-google-image-crawling development by creating an account on GitHub.
github.com
다음은 나의 수정된 코드. selenium은 pip 명령어로 간단히 설치 할 수 있다.
import threading
from selenium import webdriver
from selenium.webdriver.common.keys import Keys
import time
import urllib.request


search = "search keyword"
driver = webdriver.Chrome('C:/chrome/chromedriver.exe')
driver.get("https://www.google.co.kr/imghp?hl=ko&tab=wi&authuser=0&ogbl")
elem = driver.find_element_by_name("q")
elem.send_keys(search)
elem.send_keys(Keys.RETURN)

SCROLL_PAUSE_TIME = 3
# Get scroll height
last_height = driver.execute_script("return document.body.scrollHeight")
SAVE_FLAG = False
def timeout(limit_time): #timeout
    start = time.time()
    while True:
        if time.time() - start > limit_time or SAVE_FLAG:
            raise Exception('timeout. or image saved.')

while True: #검색 결과들을 스크롤해서 미리 로딩해둠.
    # Scroll down to bottom
    driver.execute_script("window.scrollTo(0, document.body.scrollHeight);")
    # Wait to load page
    time.sleep(SCROLL_PAUSE_TIME)
    # Calculate new scroll height and compare with last scroll height
    new_height = driver.execute_script("return document.body.scrollHeight")
    if new_height == last_height:
        try:
            driver.find_element_by_css_selector(".mye4qd").click()
        except:
            break
    last_height = new_height

images = driver.find_elements_by_css_selector(".rg_i.Q4LuWd")
count = 0
for image in images:
    SAVE_FLAG = False
    timer = threading.Thread(target=timeout, args=(30,))
    try:
        image.click()
        time.sleep(3)
        timer.start()
        #이미지의 XPath 를 붙여넣기 해준다. >> F12 를 눌러서 페이지 소스의 Element에서 찾아보면됨.
        imgUrl = driver.find_element_by_xpath('//*[@id="Sva75c"]/div/div/div[3]/div[2]/c-wiz/div/div[1]/div[1]/div[2]/div[1]/a/img').get_attribute("src")
        urllib.request.urlretrieve(imgUrl, "images/"+ search + "_{0:04}".format(count) + ".jpg") #저장할 이미지의 경로 지정
        print('Save images : ', "images/"+ search + "_{0:04}".format(count) + ".jpg")
        SAVE_FLAG = True
        count += 1
        if timer.is_alive():
            timer.join()
    except Exception as e:
        if timer.is_alive():
            timer.join()
        pass
print('driver end. Total images : ', count)
driver.close()
XPath 찾는 법은 간단하다. F12 를 눌러 개발자도구를 연 다음, Elements에서 열심히 해당 이미지가 들어있는 블록을 찾아주면된다. 다행히도 해당하는 부분이 그림과 같이 표시되기때문에 크게 어렵지는 않을것이다.
그 후에는 우클릭으로 XPath를 카피해서 사용하면된다! (우클릭 > Copy > Copy XPath)

실행하면 프로젝트의 images 폴더에 차례로 이미지들이 잘 저장되어있는것을 알 수 있다.
처음에 실행했던 코드에서는 XPath가 잘못되어있었어서, 원인도 모른채 이미지 저장이 안되어 조금 헤매었다. ㅎ.
아무튼! 잘 실행되어서 굳굳.